Installing an RV Water Heater
Find step-by-step instructions on installing an RV water heater to guarantee proper setup and peak performance on your journeys.
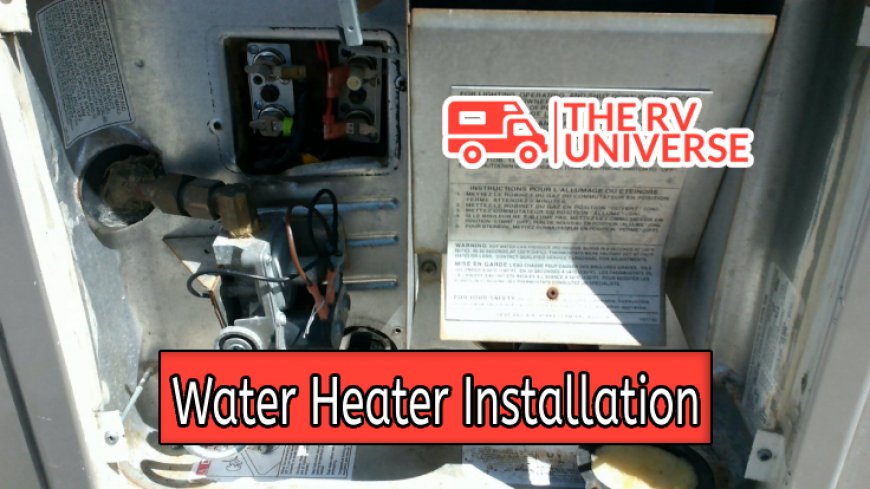
You've picked your perfect RV, planned your journey, and now it's time to tackle the practical side of things. One crucial aspect of living comfortably on the road is installing an RV water heater. Ensuring a proper setup doesn't just give you the luxury of hot water—it guarantees peace of mind too.
RV Water Heater Installation Made Easy
With some patience and handy tools, installing an RV water heater can be a satisfying DIY project. Let's dive into the step-by-step process of making your RV journeys warm and cozy.
Table of Contents
- Selecting the Right Water Heater for Your RV
- Preparing for RV Water Heater Installation
- Removal of the Old Unit
- Installing Your New RV Water Heater
- Testing and Maintenance of Your Water Heater
- Safety Tips for RV Water Heater Usage
- Making RV Water Heater Installation a Breeze
Selecting the Right Water Heater for Your RV
The journey towards a well-equipped RV begins with selecting the right water heater. Different RVs will have different requirements based on size, occupancy, and personal needs. Here are a couple of factors you should consider:
- Size: You need to measure the space available in your RV for the heater. Always ensure there is adequate room for the heater and additional space for ventilation.
- Capacity: Decide how much hot water you'll need. This often depends on the number of people in the RV and their daily water usage.
- Type: Traditional tank water heaters store and heat water, while tankless heaters heat water on demand. Each has its pros and cons, so weigh them based on your needs.
Preparing for RV Water Heater Installation
Equipped with your shiny new water heater? Great! Now, let’s focus on getting your RV ready for installation. Safety is a top priority during this process, hence take note of each step and follow them meticulously.
Gather Your Tools
Here's a list of tools you'll most likely need for the process:
- Adjustable wrenches
- Sealant
- Wiring materials
- Measuring tape
- Drill
All set with your tools? Now, it’s time to disconnect your RV from any power source. It's also best to turn off the gas supply before starting any work. Remember, safety should always come first.
Removal of the Old Unit
Now comes the slightly daunting task of removing your old RV water heater unit. But don't worry - with the correct approach, you can have it out in no time. Let’s break it down:
- Disconnect power and gas: Double-check that your RV is disconnected from all power sources. Switch off the gas supply to the existing water heater.
- Drain the water: Run a hose from the heater’s drain valve to guide the water away safely. Open the pressure relief valve while doing this.
- Unhook water lines: Once the water is drained, disconnect the water lines attached to the inlet and outlet of the heater. Use an adjustable wrench to loosen the fittings.
- Remove the heater: After all connections are free, begin unscrewing the heater from its casing or compartment. Get assistance if necessary, as water heaters can be heavy.
Remember, it's crucial to handle this with utmost caution. There's no rush; focus on doing it correctly to prevent any potential issues down the line.
Installing Your New RV Water Heater

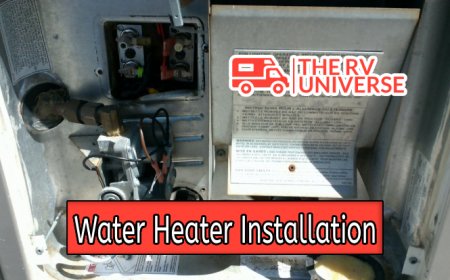
Now for the exciting part! It's time to install your new water heater. Even though every model can have different instructions, here are some general steps to follow:
- Slide the new unit into position—ensure its alignment with the opening and mounting surfaces.
- Secure the unit with screws to hold it steadily in place.
- Connect your water lines—cold water goes to the blue inlet, and hot water should be connected to the red outlet.
- If your unit uses propane, hook up the gas line and ensure a leak-proof connection.
- Create sealant-lined borders around the heater for added waterproofing.
Now your new RV water heater is installed, it's time for a crucial step - testing its performance. But, we will leave that for the next part of our guide.
Testing and Maintenance of Your Water Heater
With the installation out of the way, it's time to test your work. Turn the power and gas supply back on and follow these steps:
- Water line check: First, check your water lines for any leaks.
- Start the heater: Turn on the water heater and let the tank fill up. Remember, different heaters may come with specific instructions, so don't forget to consult the manual.
- Check for hot water: Once the tank is full, let it heat up. After a while, run a hot water tap in your RV and check if the water is getting hot.
- Check for gas leaks: If you're using propane, always perform a gas leak test after installation.
Maintaining Your RV Water Heater
Post-installation, regular maintenance of your RV water heater is crucial for its optimal functioning. Here are a few tips:
- Periodically check water lines for leaks and the condition of the gas line if applicable.
- Ensure proper ventilation for the unit.
- Flush out your tank at regular intervals to prevent sediment build-up.
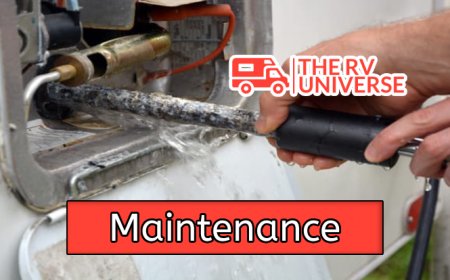
- Inspect your heater’s anode rod and replace it when necessary. An anode rod prevents corrosion of the tank’s inner lining, so its upkeep is essential.
Safety Tips for RV Water Heater Usage

When it comes to handling an RV water heater, safety should always be paramount. Below are some safety tips you should always keep in mind:
- Heater location: The heater's location should be well-ventilated to prevent overheating or potential fires.
- Prevention of scalding: Be careful with hot water. Keep a check on the thermostat settings and maintain a safe temperature.
- Winterization: In winter months, remember to winterize your unit to prevent freezing that could lead to potential damage.
- Gas safety: Regularly check your gas connection for leaks to prevent any accidents.
Making RV Water Heater Installation a Breeze
Installing an RV water heater can initially seem like a daunting task. However, with a little bit of time, patience, and careful following of instructions, you can do it seamlessly. Remember, about 70% of the job lies in preparation. The actual installation is just the final leg of your journey!
By equipping your RV with a well-functioning water heater, you are not only enhancing your RV living experiences with the added comfort of hot water but also boosting safety and peace of mind. After all, as faithful adherents to the RV way of life, isn't the journey what it's all about?
So, buckle up, gather your tools and brace yourself for the rewarding job of installing an RV water heater. Your journeys on the open road are about to get a whole lot cozier with this new addition to your RV. Happy travels!
What's Your Reaction?


